After a conversation around upskilling, a friend of mine suggested I take a dressmaking course.
She suggested I look up The Dreamstress, a local sewing guru, and try a few of her classes.
I looked her up and found the perfect class:
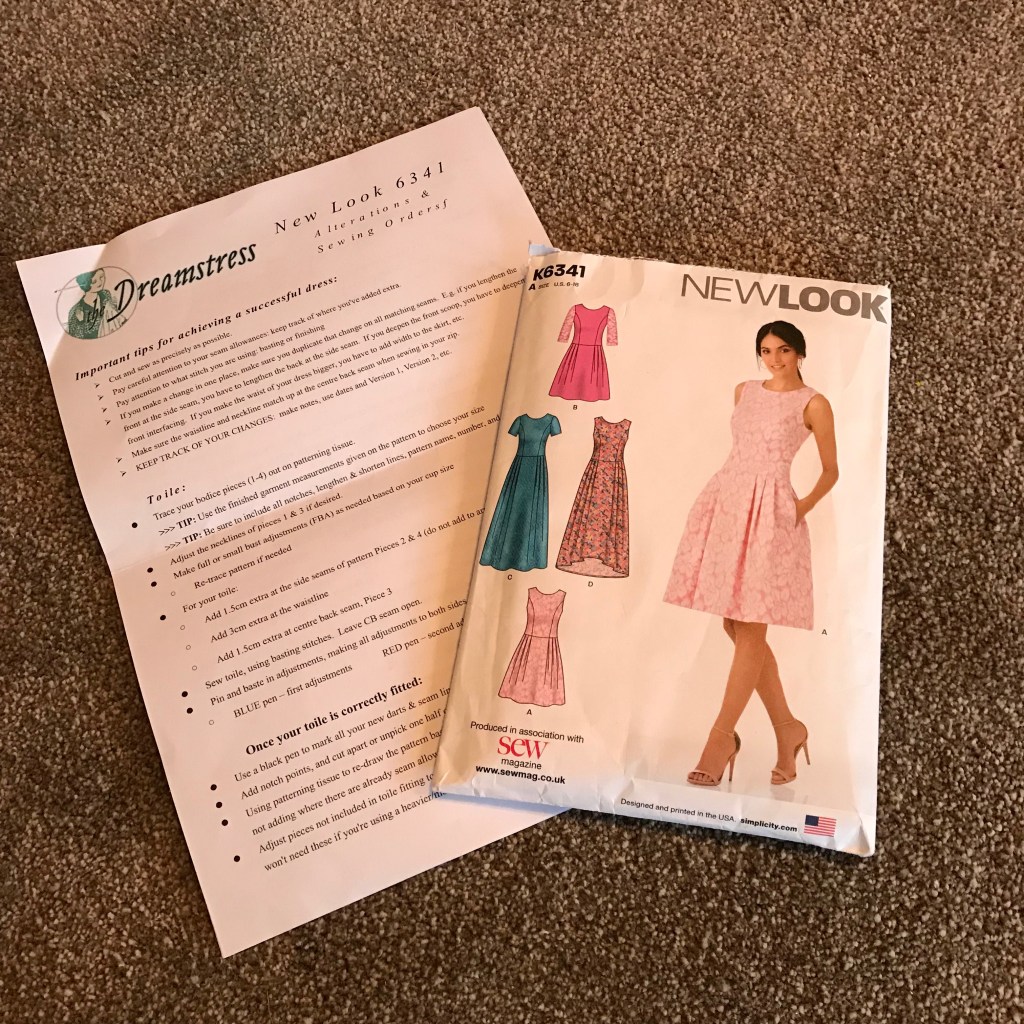
The Princess Seamed Fit & Flare Dress – New Look 6341
It was actually a pattern that I already had in my collection, so i took that as a sign and booked onto the course.
Week 1
The first session was nerve wracking. As I have quite limited sewing skills I was apprehensive about starting. What if everyone else is much better than me? What if I do something wrong?
In reality everyone in the class was lovely. There were only five of us. I am by far the least experienced but it didn’t make a difference, as we all still had the same kind of questions and worries.
The class began with everyone explaining why they were there, what experience they had and whether they’d done any of the classes before. Everyone else had done other Dreamstress classes, mostly learning how to make trousers or skirts. Needless to say I was a little nervous!
Jo, the class tutor, explained that we’d start with getting the pattern out and having a look at the bodice pieces, we’ll trace the pattern and then go from there. As I’ve never had any formal sewing lessons before, I wasn’t sure why we were tracing the pattern from the large piece of paper. So I asked; why weren’t we just cutting out the pieces from the thin brown paper? It’s so that we can reuse the pattern! That thought had never crossed my mind before. How simple.
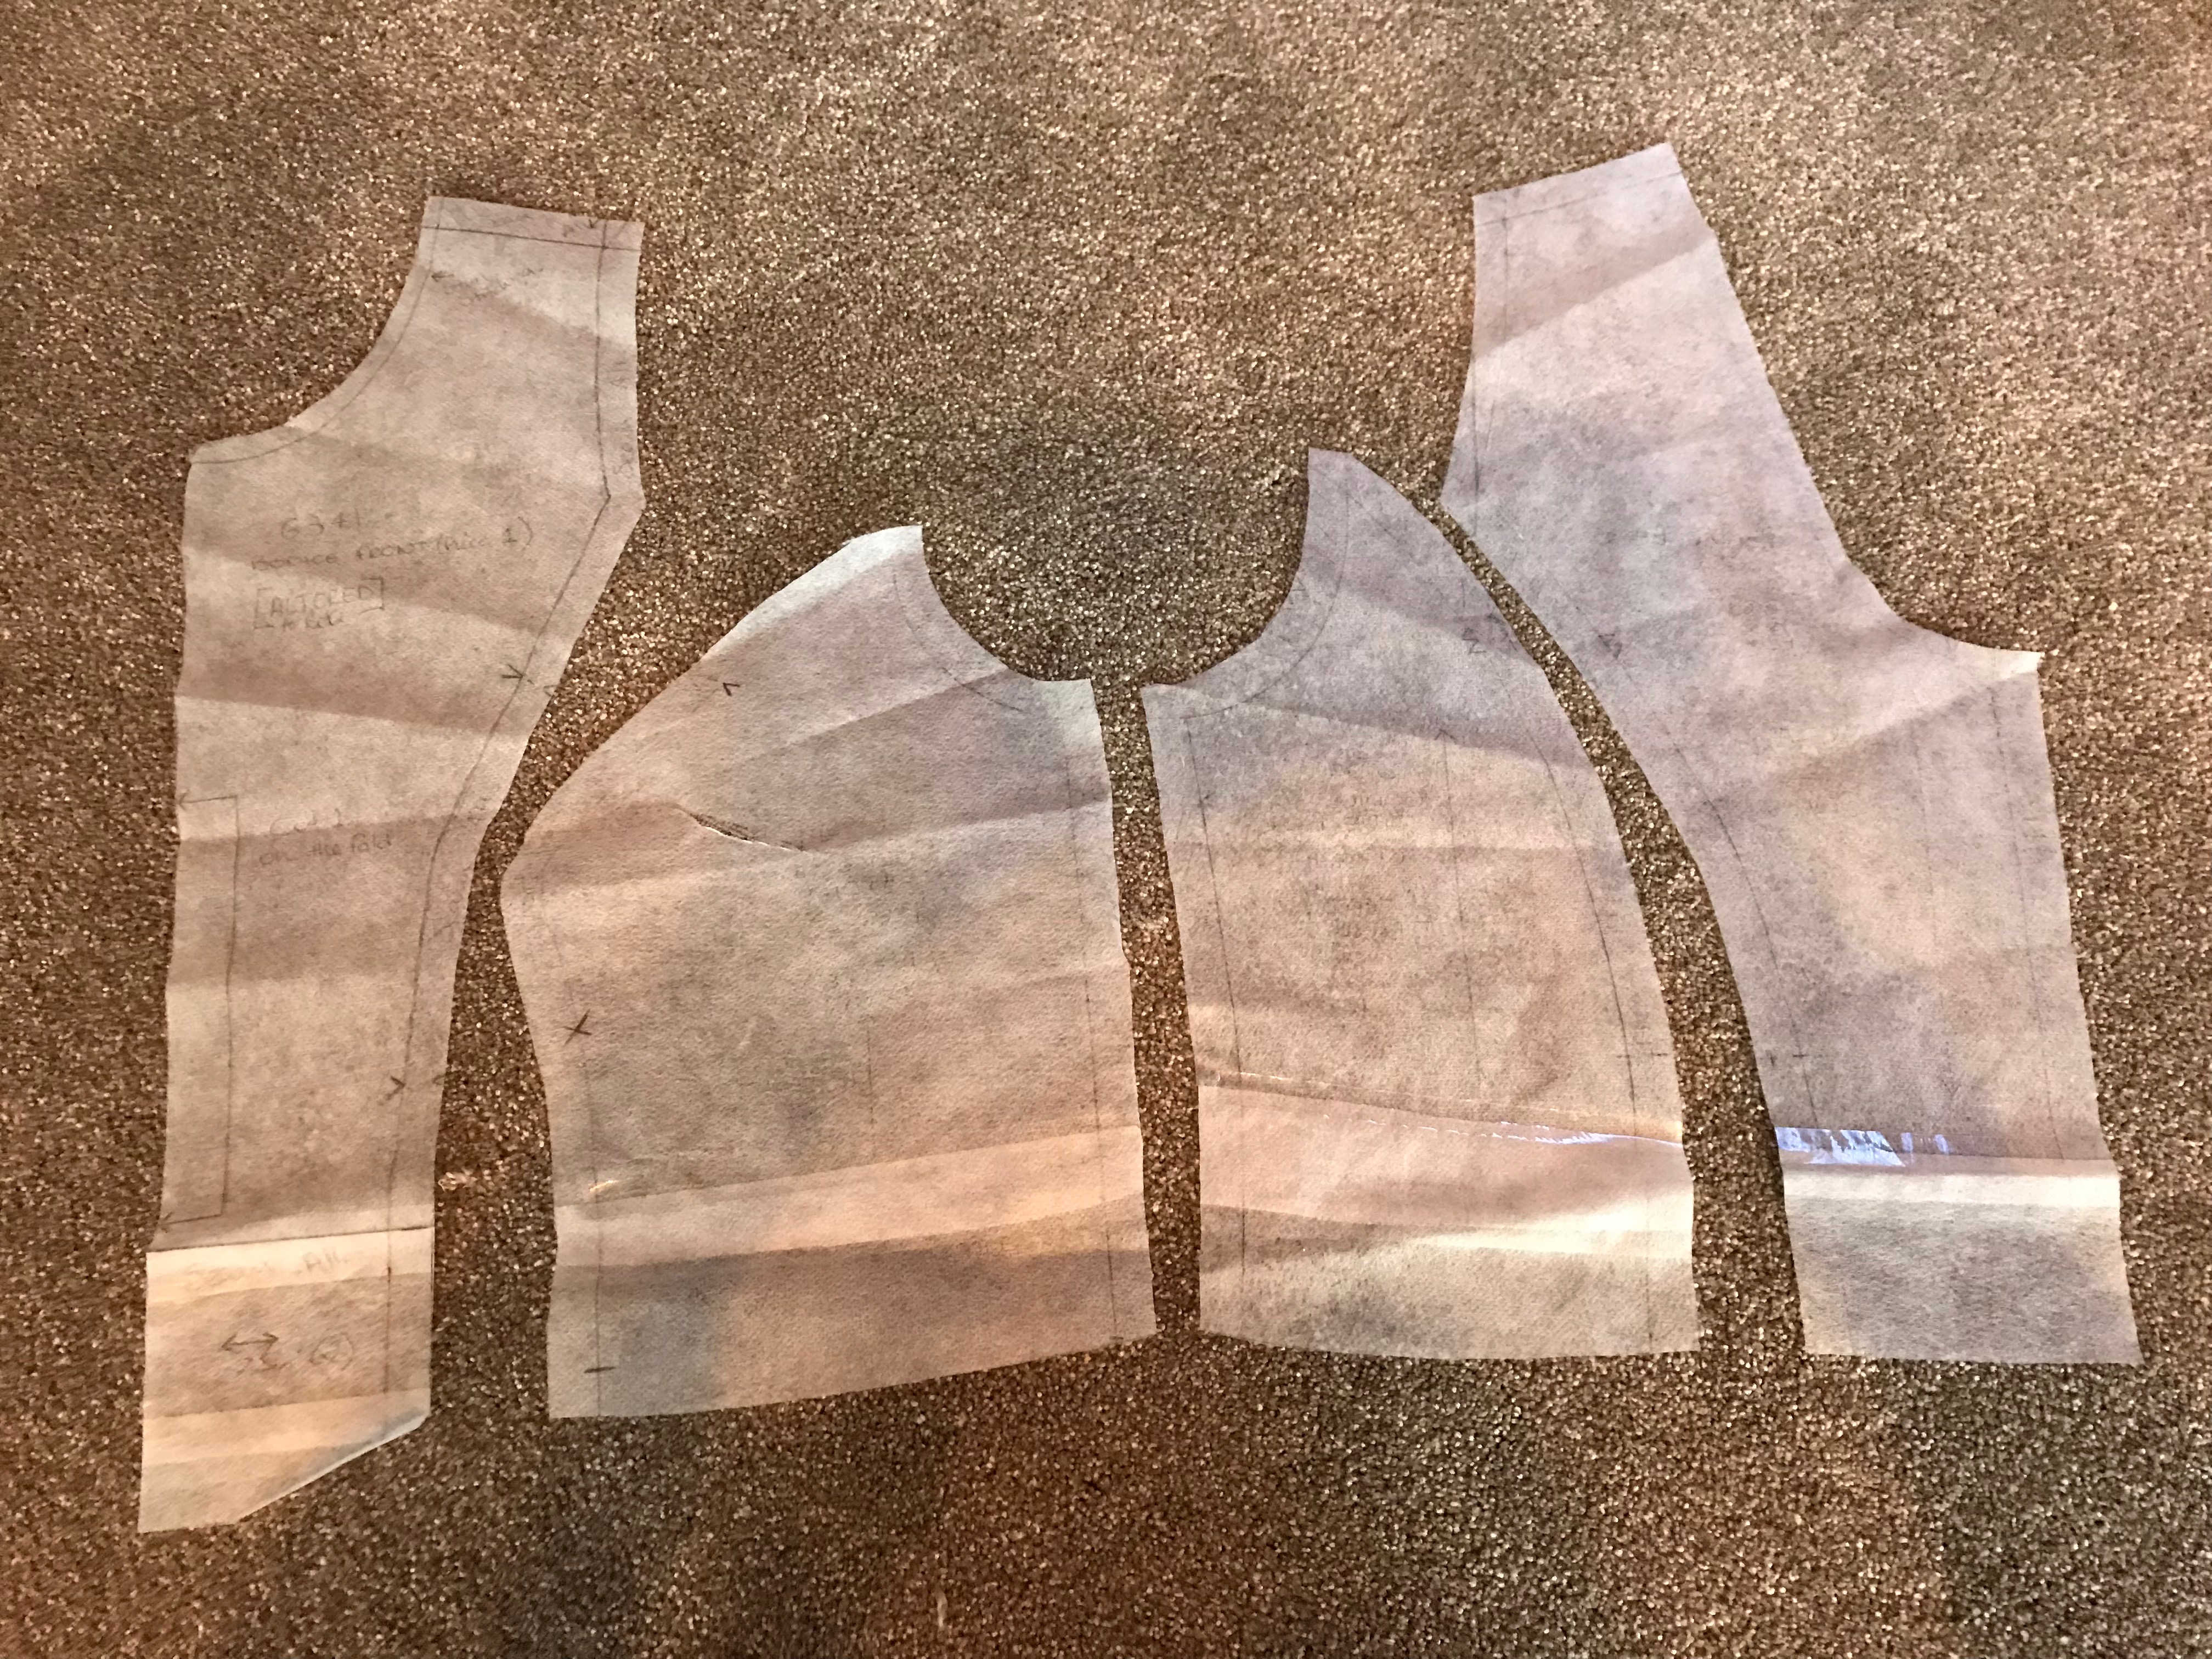
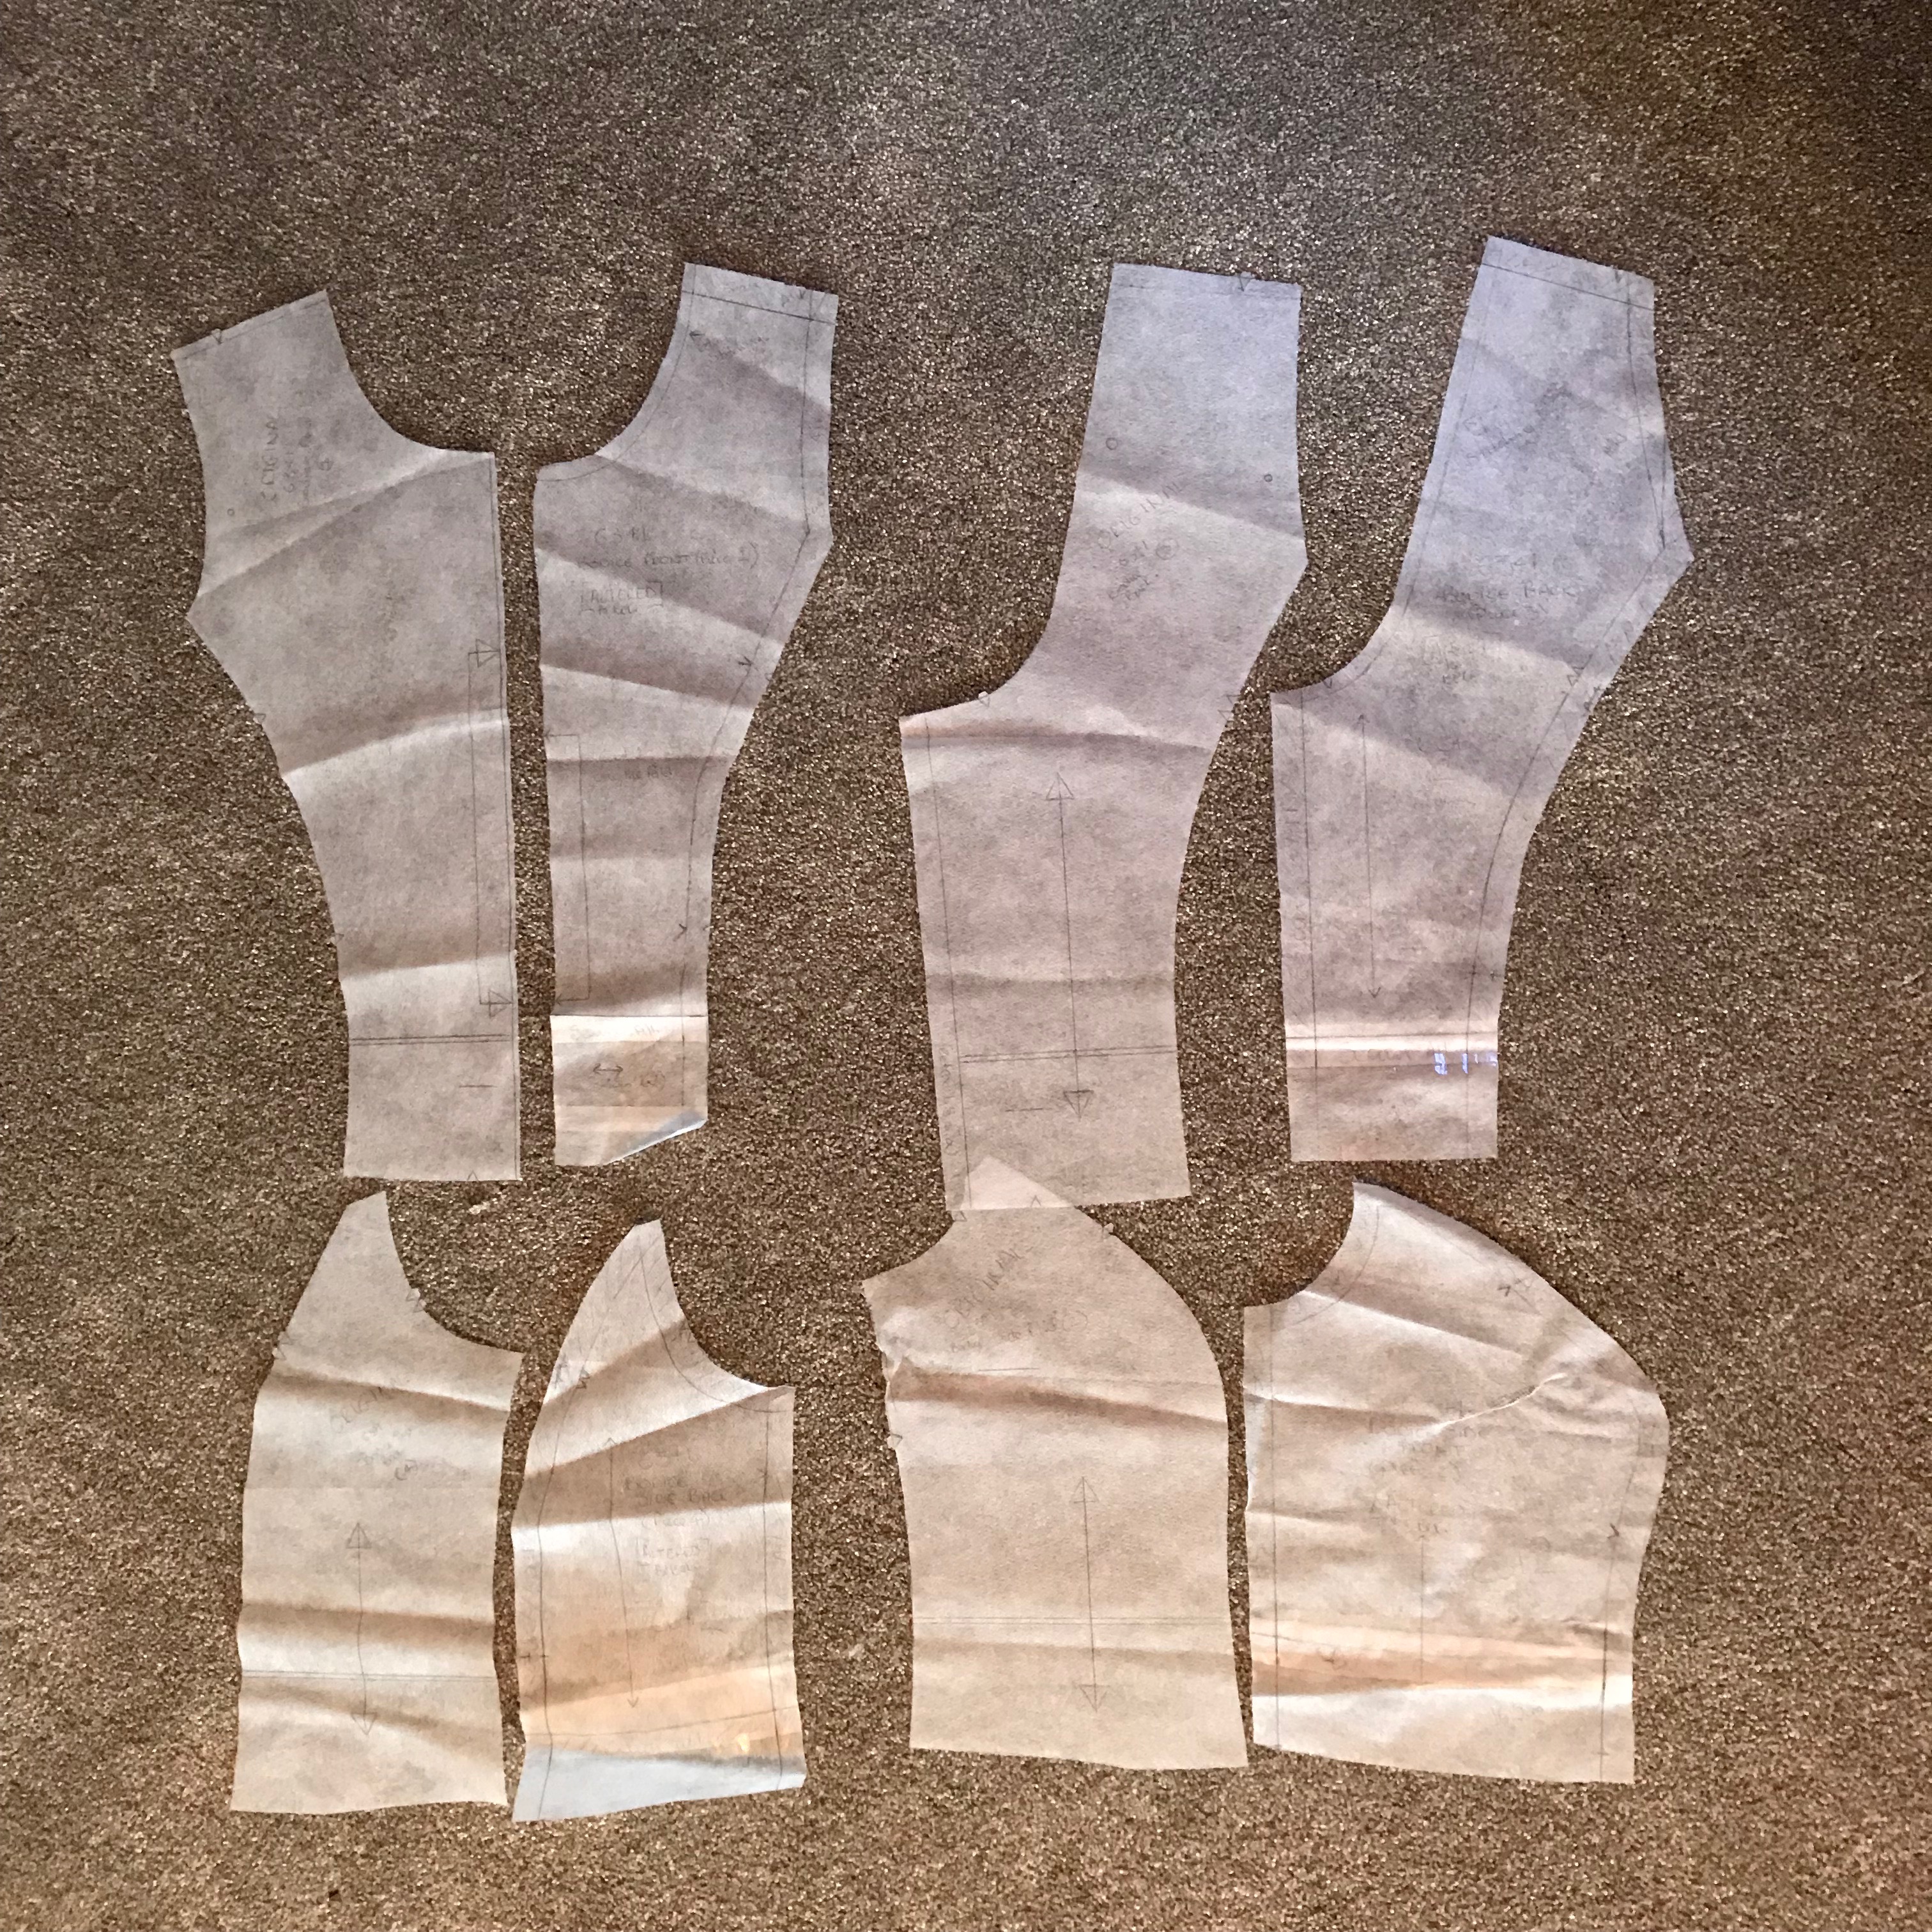
The first section of the pattern to tackle was the bodice. It’s made up of four pattern pieces, which, once traced onto fabric, give you seven pieces to sew together. It’s basically all of the bits of the dress that aren’t the skirt!
As we were tracing, Jo advised that we could make slight alterations at this point.
She had opted to change her back and neckline piece so that they showed a little less flesh. I did not have that concern, so I left them low.
We also added an extra 15mm seam allowance (making it 30mm) to the back centre piece (where the zip is going to go) to help us when it came to sewing it all up.
Once we’d done that, we began transferring the pattern over to calico so that we could make a toile.
Toile. What’s a Toile, I hear you say?!
Well…If you want to sew a garment (or not a garment) and you want to have it fit perfectly, or to serve a certain purpose, you should get into the habit of creating a mock-up, or to use the posh French word, Toile.
Toile’s are usually make using a cheap fabric, often calico or old bed sheets. You want to be able to see how the finished item is going to look, but also be able to alter it and not worry about destroying expensive fabric.
Tilly and the Buttons have a great page on Toile making.
Next up Jo showed us how to actually go about sewing the bodice pieces together. As there is a lot of shaping in the front of the bodice, the pattern pieces need to be snipped at the bust to help the material spread and make it a bit easier to sew together. She made it look so easy! I walked away from the class feeling very confident about sewing the bodice together and snipping.
Homework
As I didn’t get my toile sewn together during the class, my homework was to sew the toile pattern pieces together. A task that I achieved with a fair amount of swearing! I felt fairly confident when I sat down to sew everything together…this did not last long.
Week 2
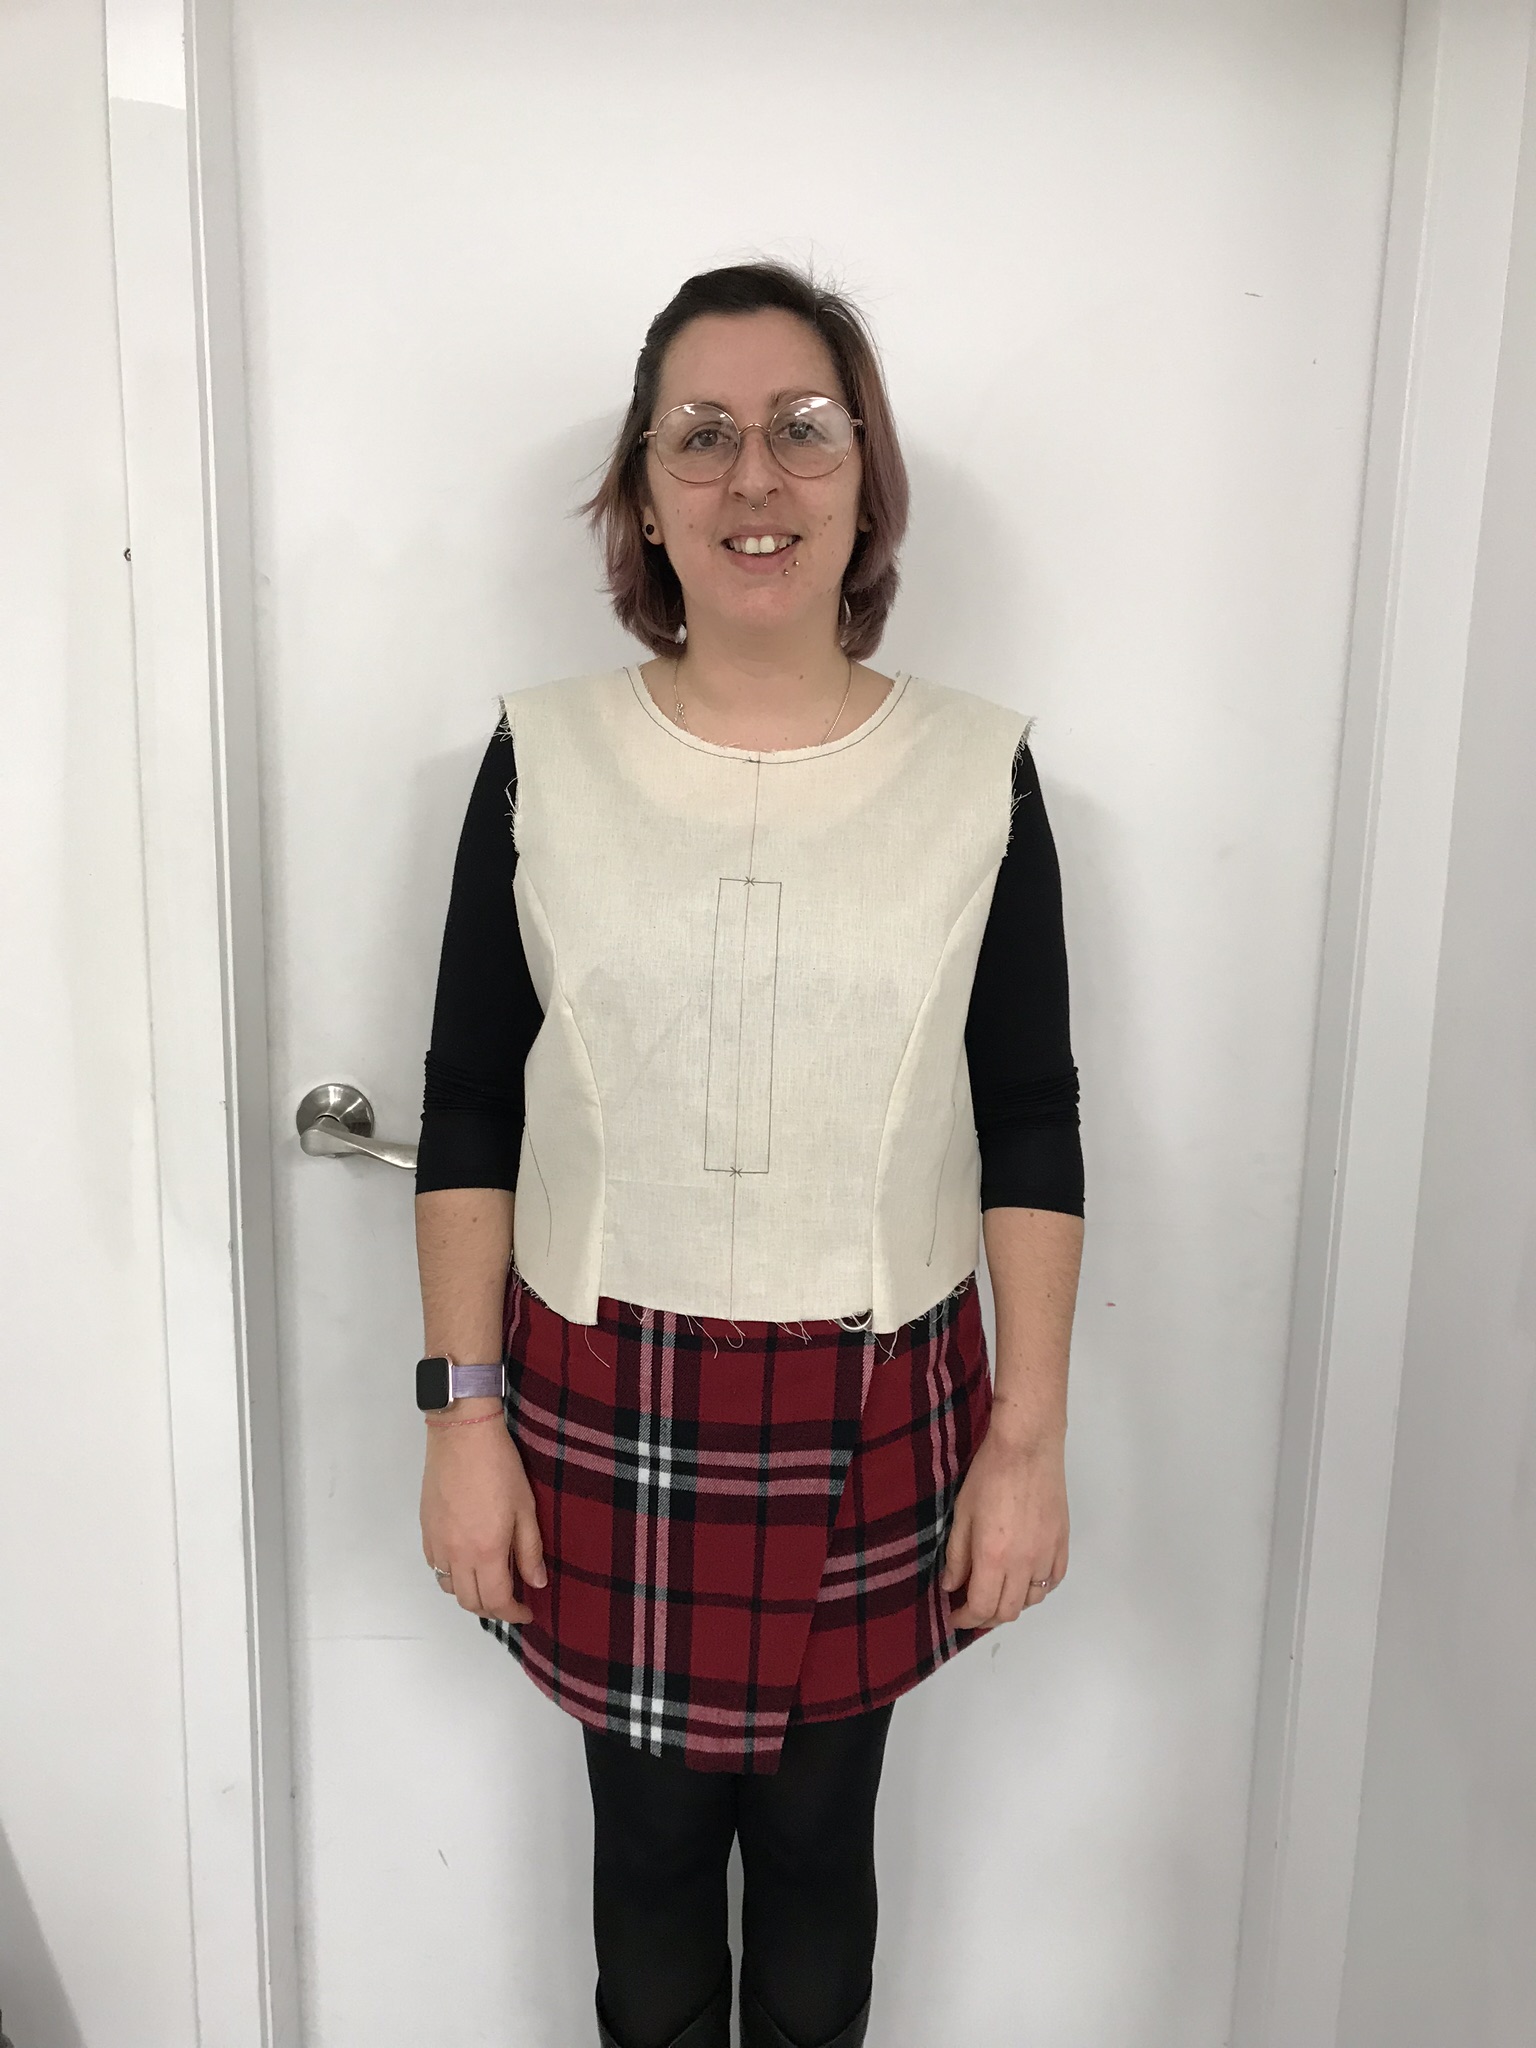
Everyone came to class ready to show off our first attempt at a toile. I was quite happy with mine, however it was quite saggy…I learnt during the class that I had sewn with the wrong seam allowance. We had allowed for a 15mm seam allowance, however, I had sewn with a 6mm seam allowance
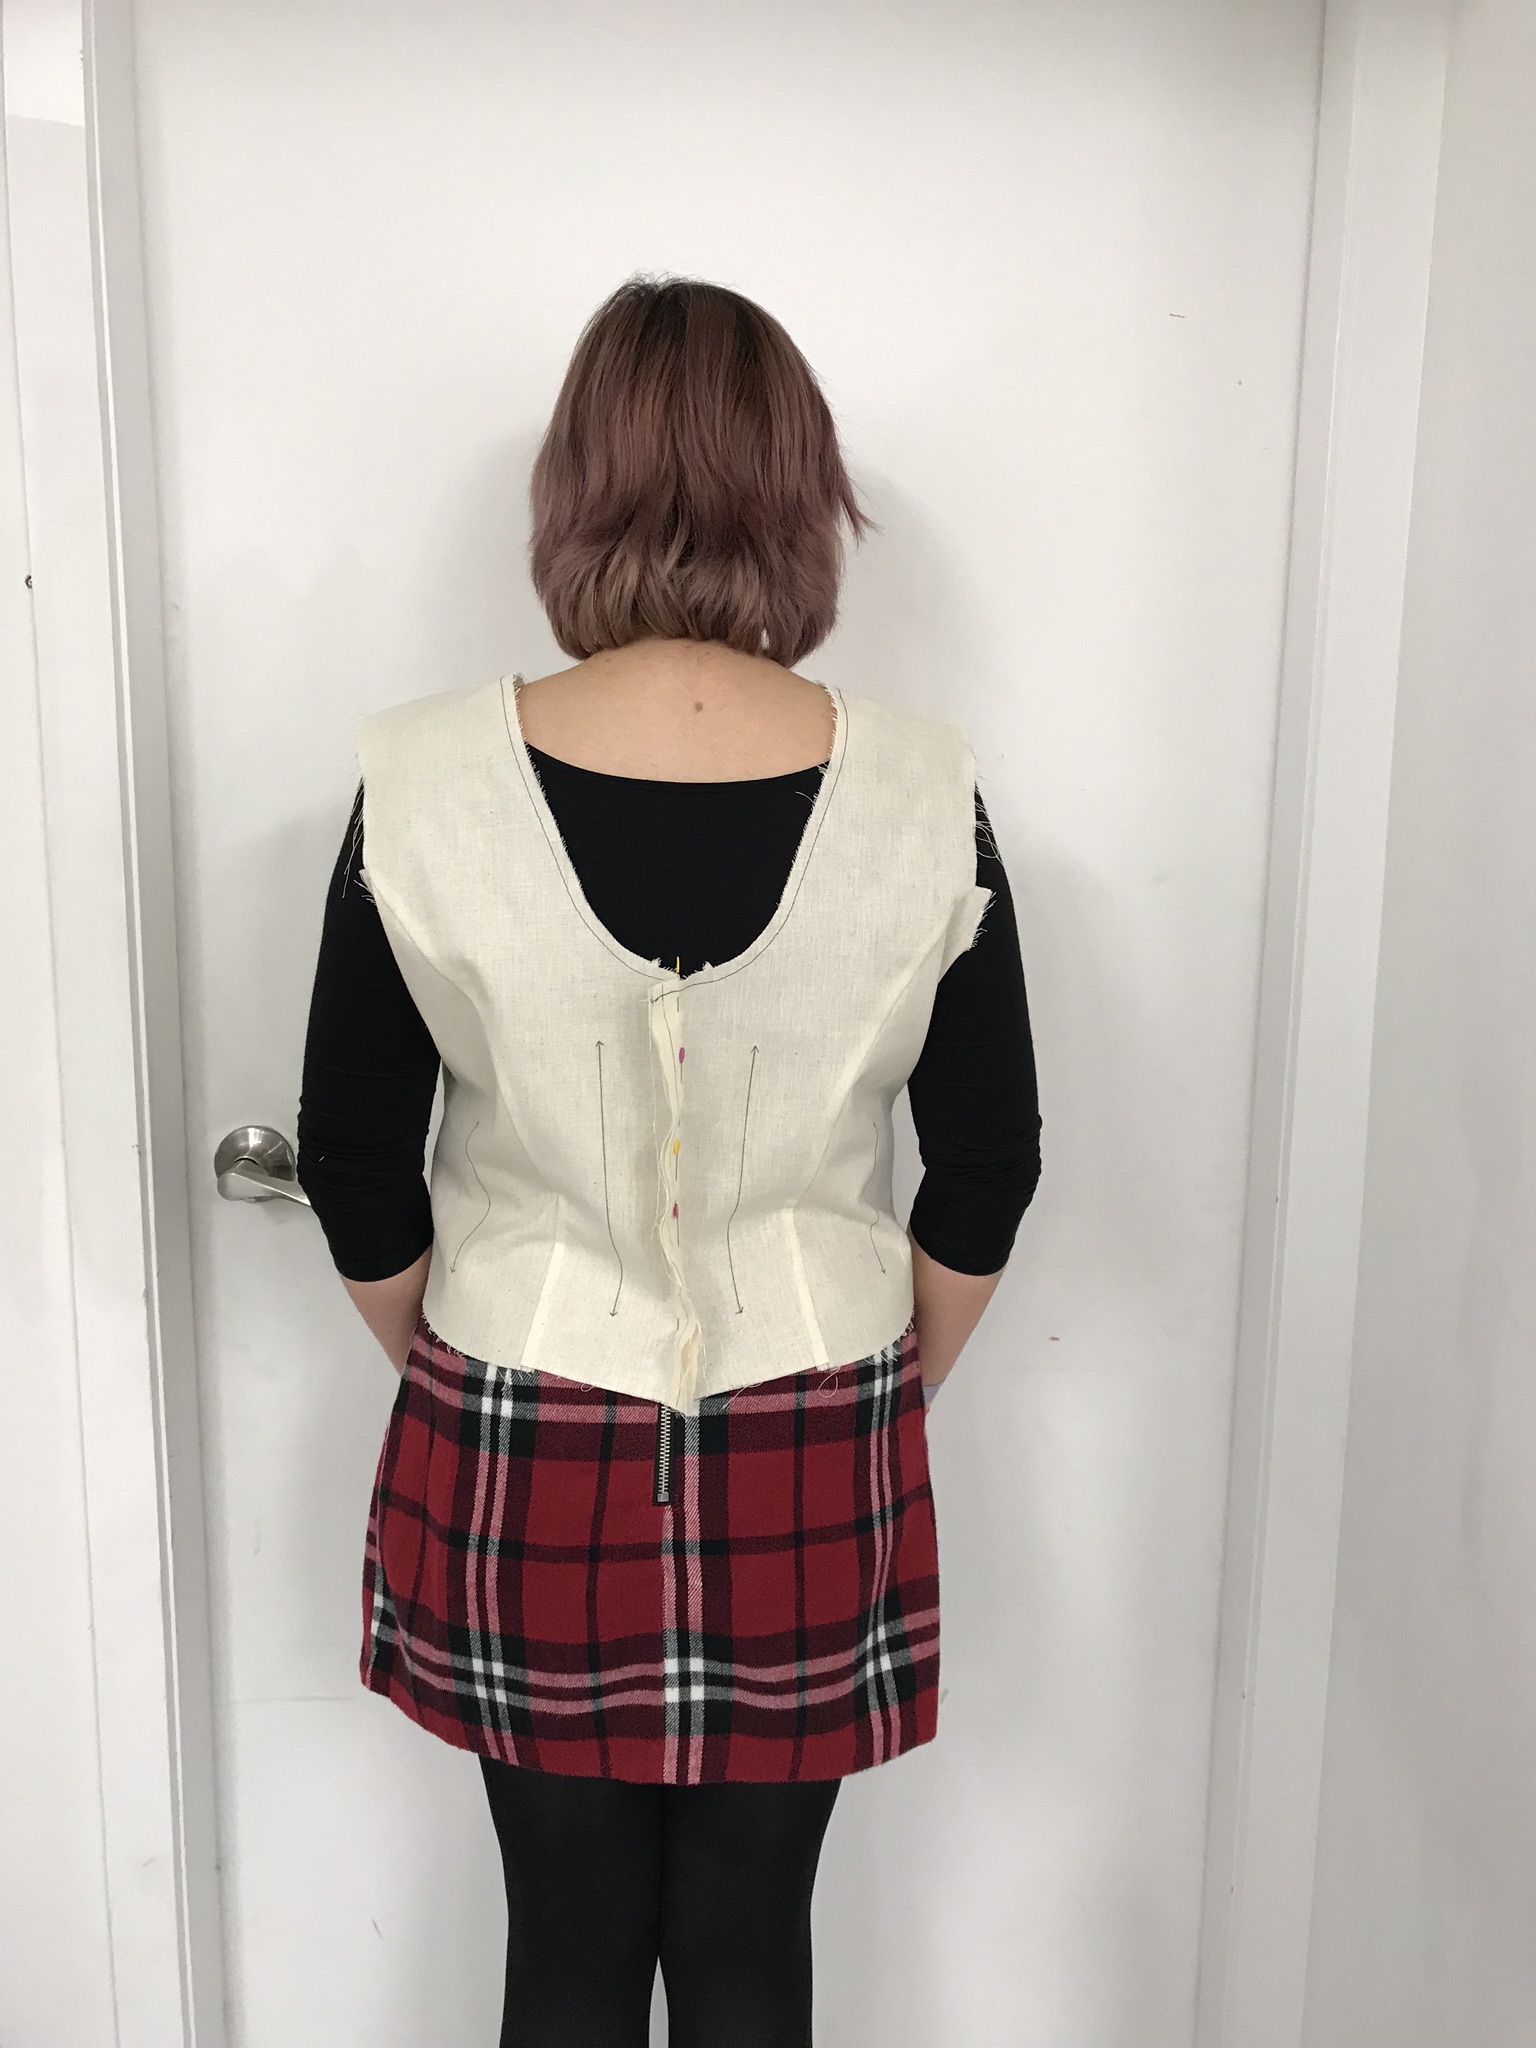
We modelled our toiles and then began to draw all over them with pen in the places where alterations were required. Jo went round to each of us and showed us what we would need to do in order to have the bodice fit well.
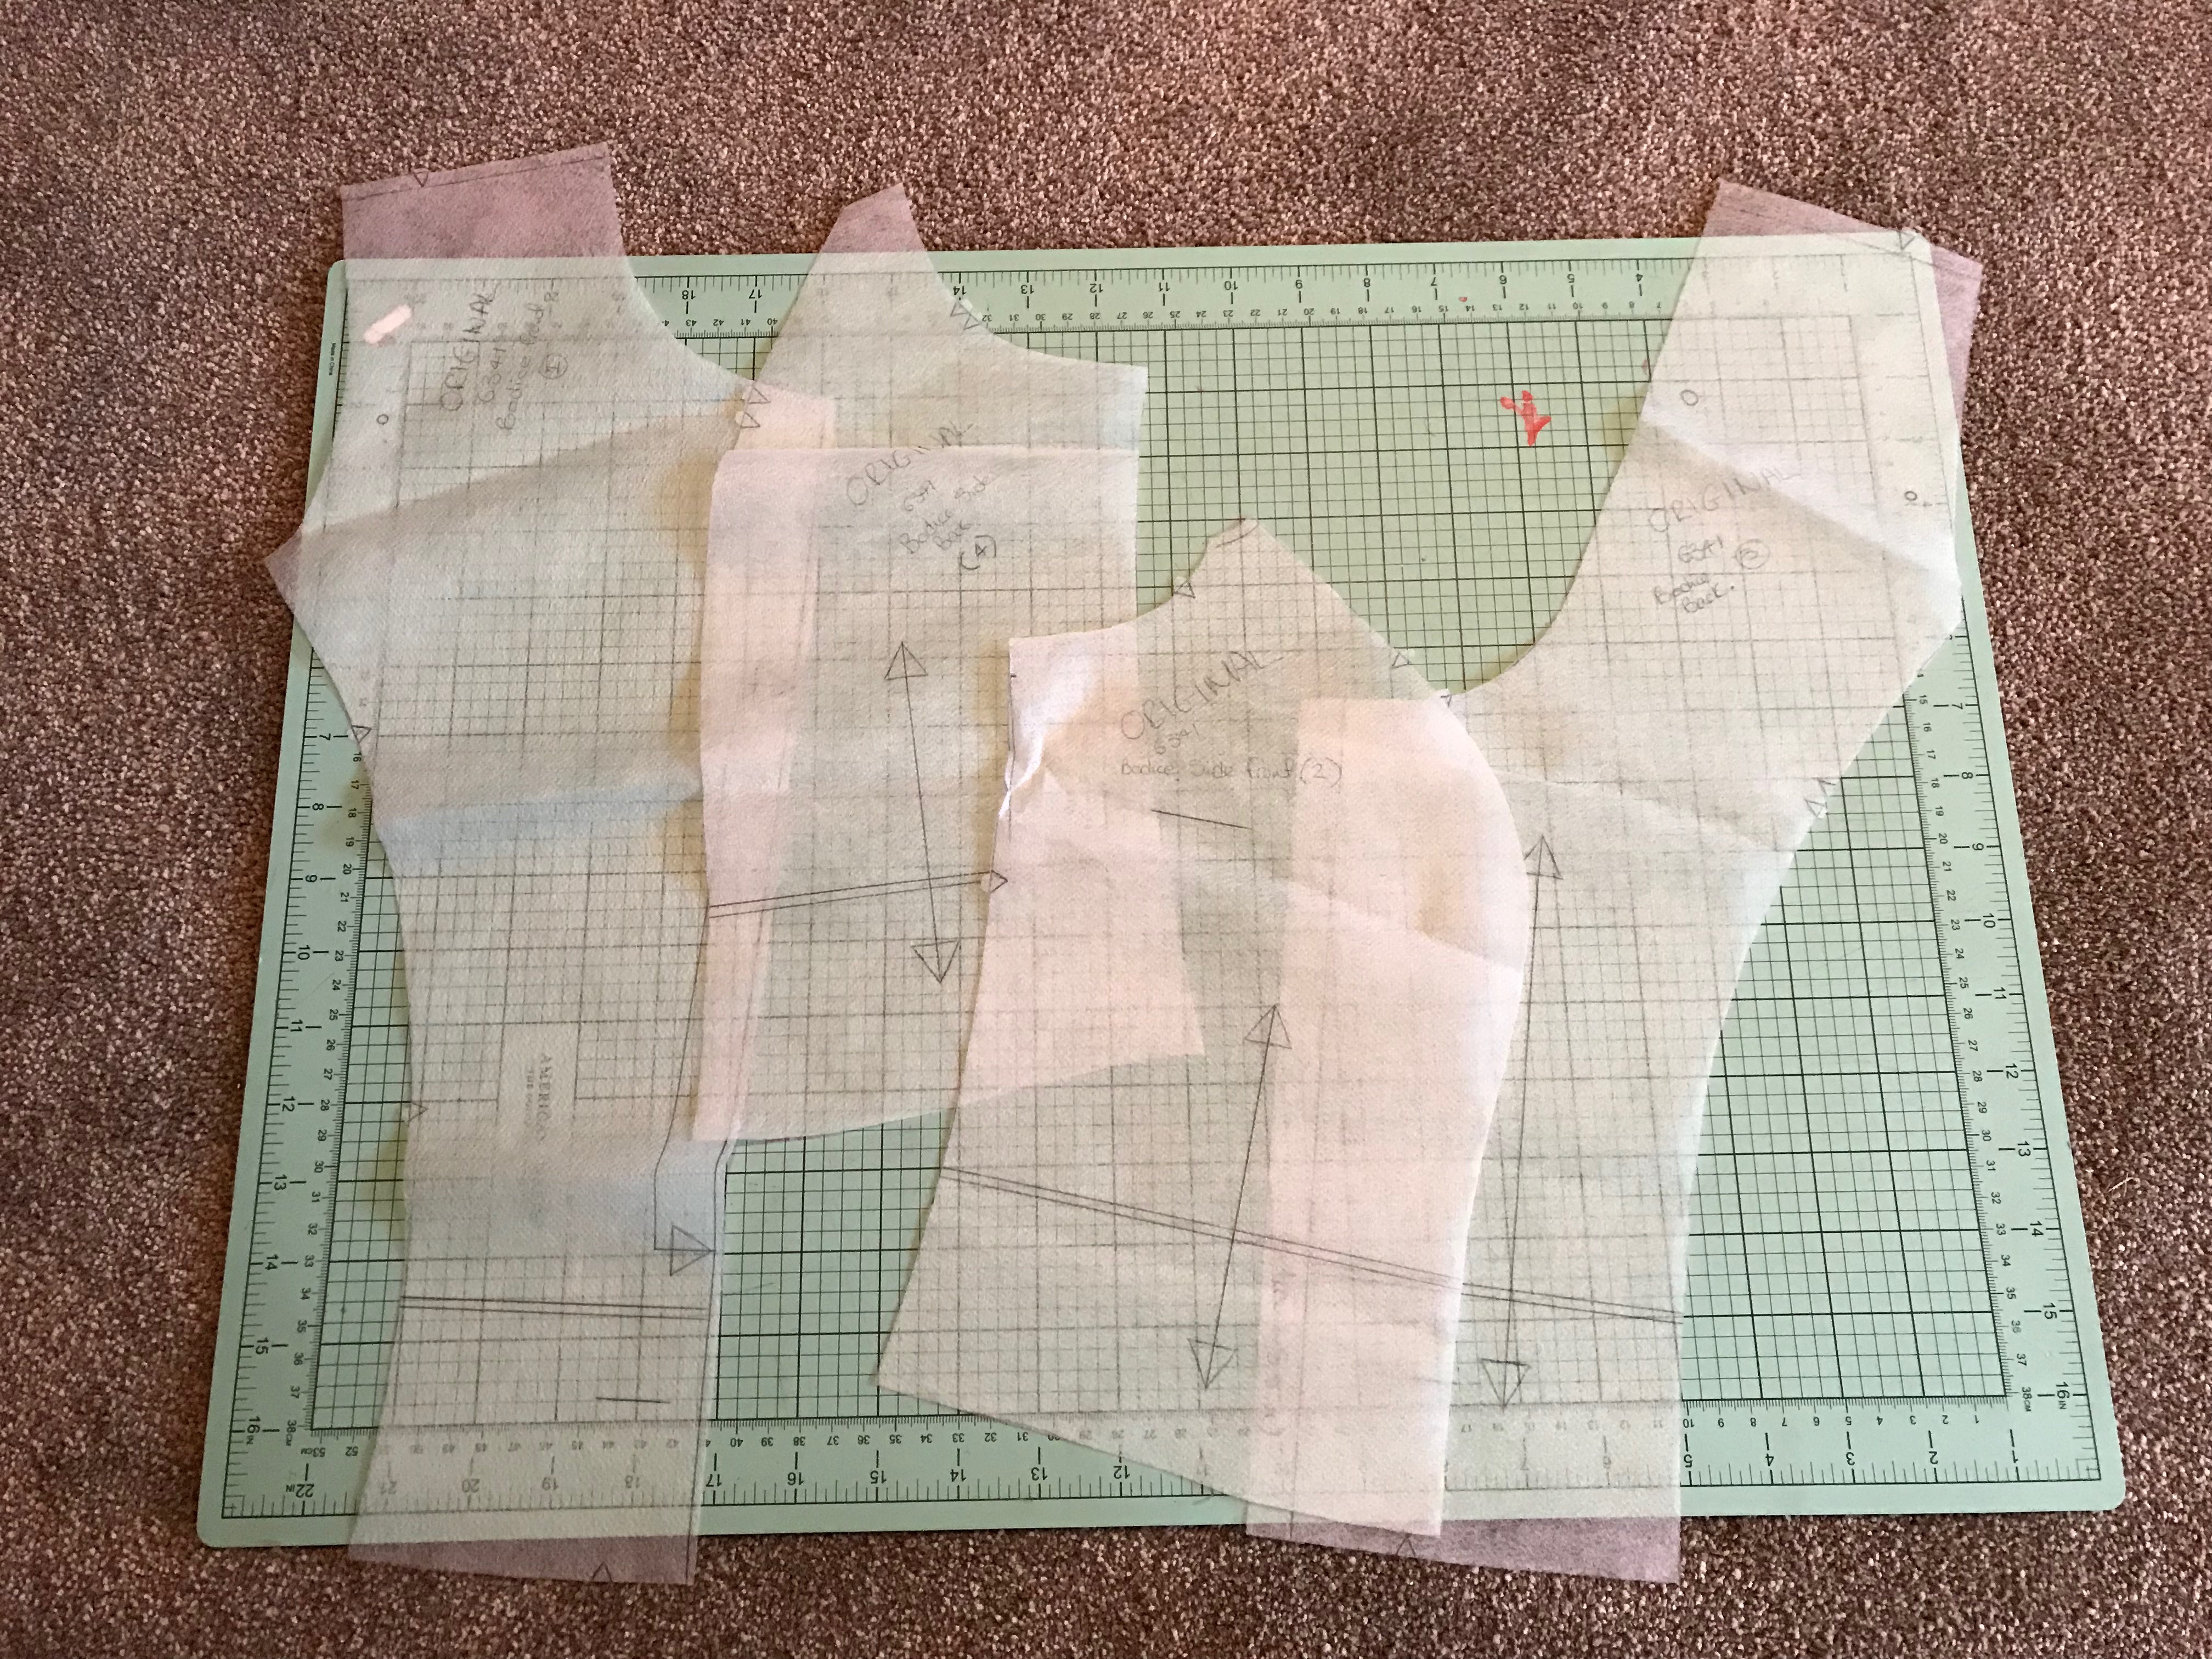
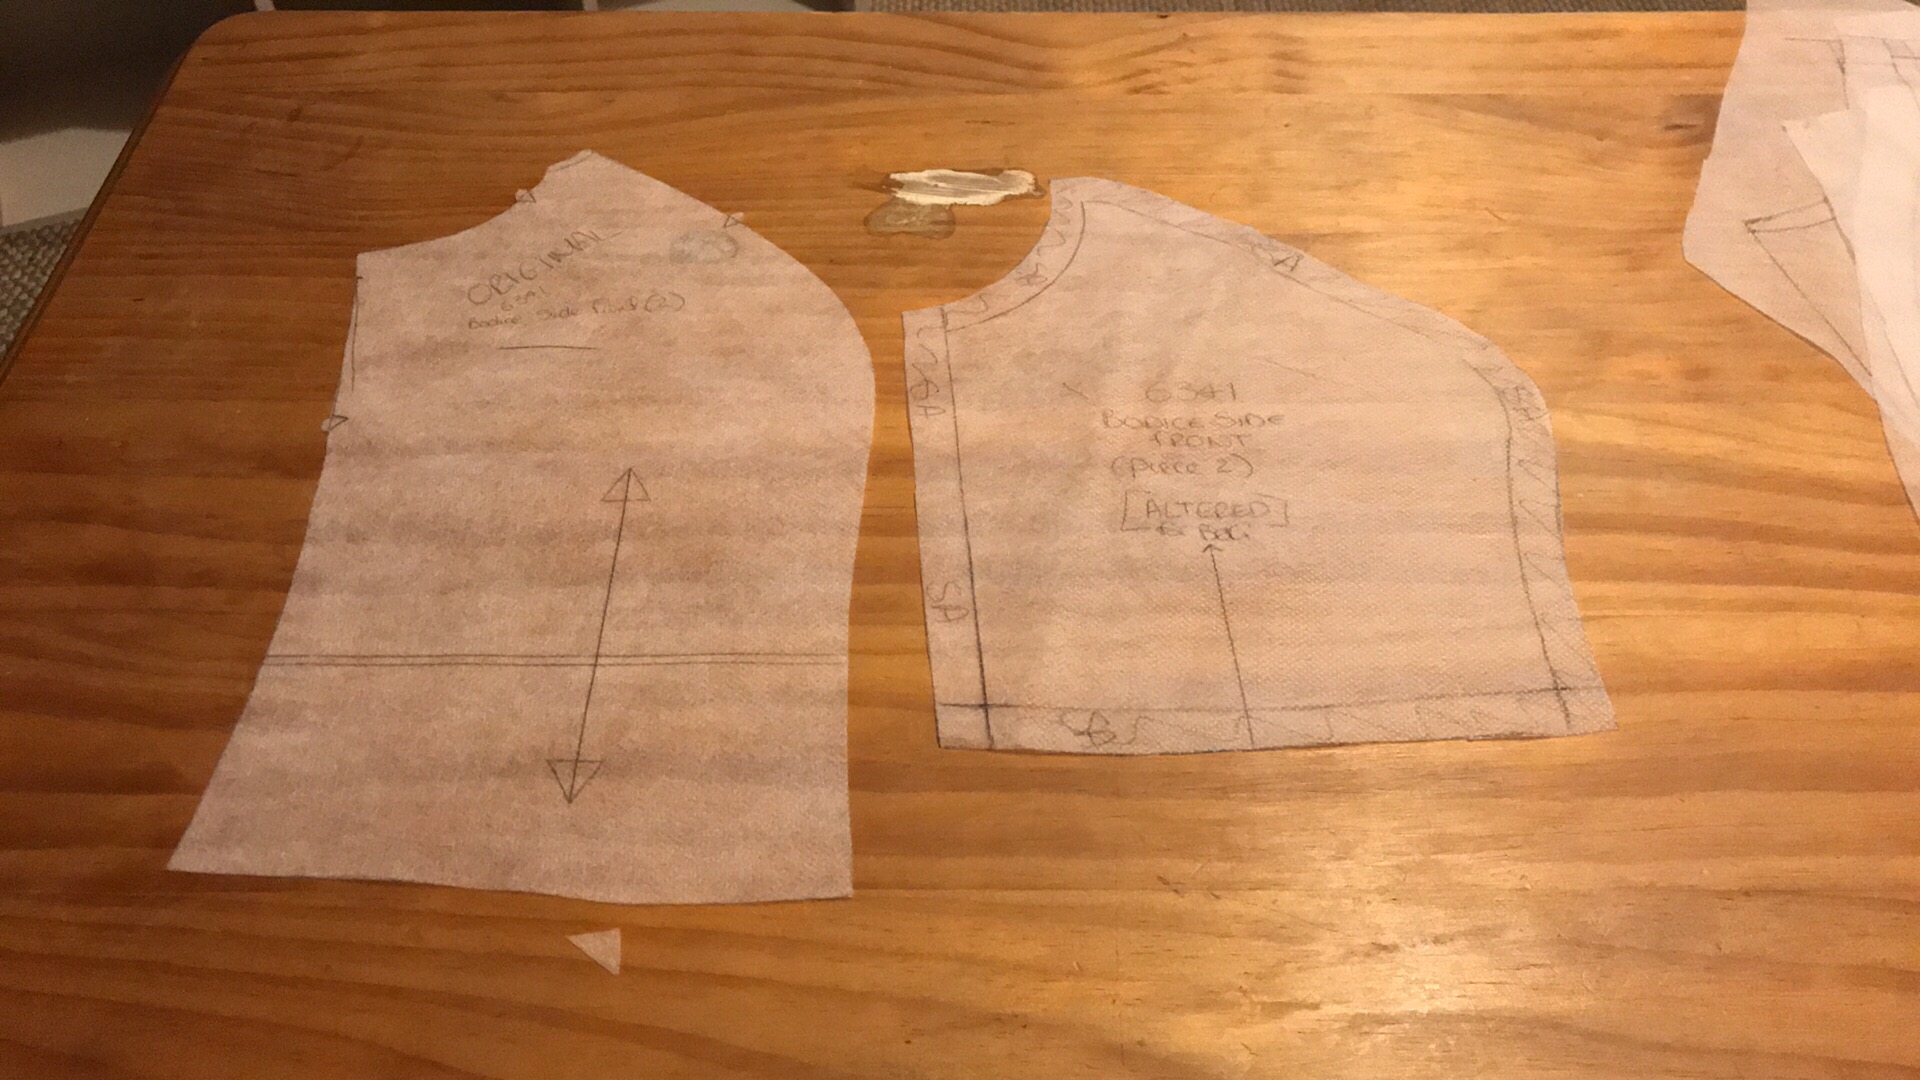
Some of the other people in the class were able to simply transfer their changes onto their original pattern pieces. However, as my alterations were significant, I had to cut up my toile and use this to create new pattern pieces.

Homework
As I didn’t have a bodice that fit, when I got home I had to make sure all of the areas for altering were clearly transferred onto my current toile. I then cut the toile up and traced the new pattern pieces from the cut toile. I then had to transfer these onto some new material and remake the toile (we’ll call this one ‘Toile 2.0’).
My new pattern pieces didn’t take long to create now that I had more of an idea of what to do.
It is interesting to see the original pattern pieces and the new pattern pieces…I’ve had to make quite a bust alteration (bottom right photo)!
Week 3
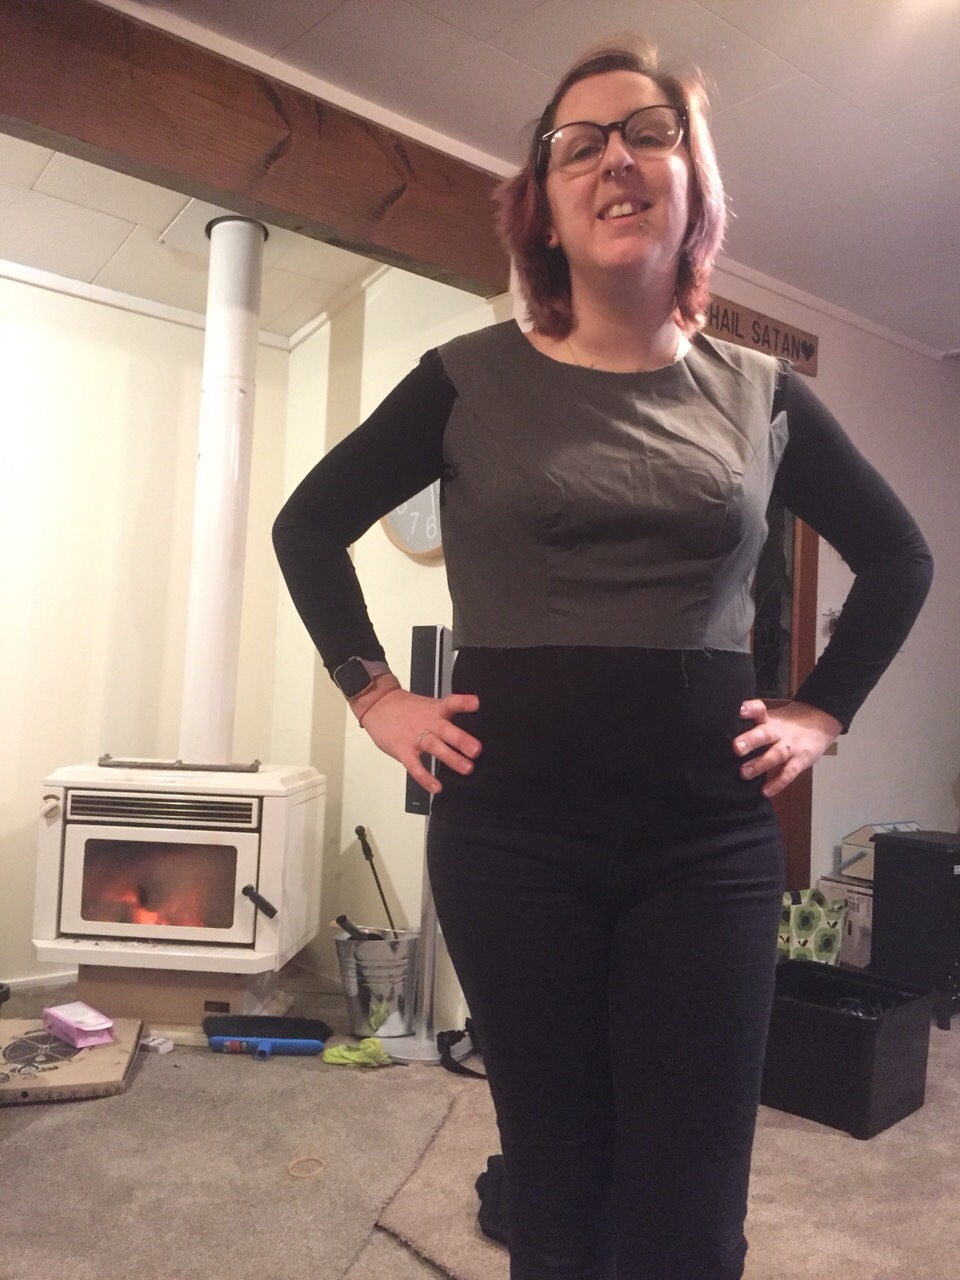


Toile 2.0 was a much better fit.
This weeks session was all about understanding the next part of the pattern; the skirt.
We all pulled out the skirt pattern and Jo began by explaining what we were actually looking at. As this skirt is pleated, the pattern is extremely chaotic, with many lines and numbers. Once you know what you’re looking at, however, it’s quite easy to work out.
Basically, the pleats of the skirt need to line up with the seams of the bodice pieces. Jo explained how to do this, and then we all began. It was an exercise in Maths! After a little bit of swearing it sort of clicked, so I was away and drawing out my skirt pattern onto the tracing fabric.
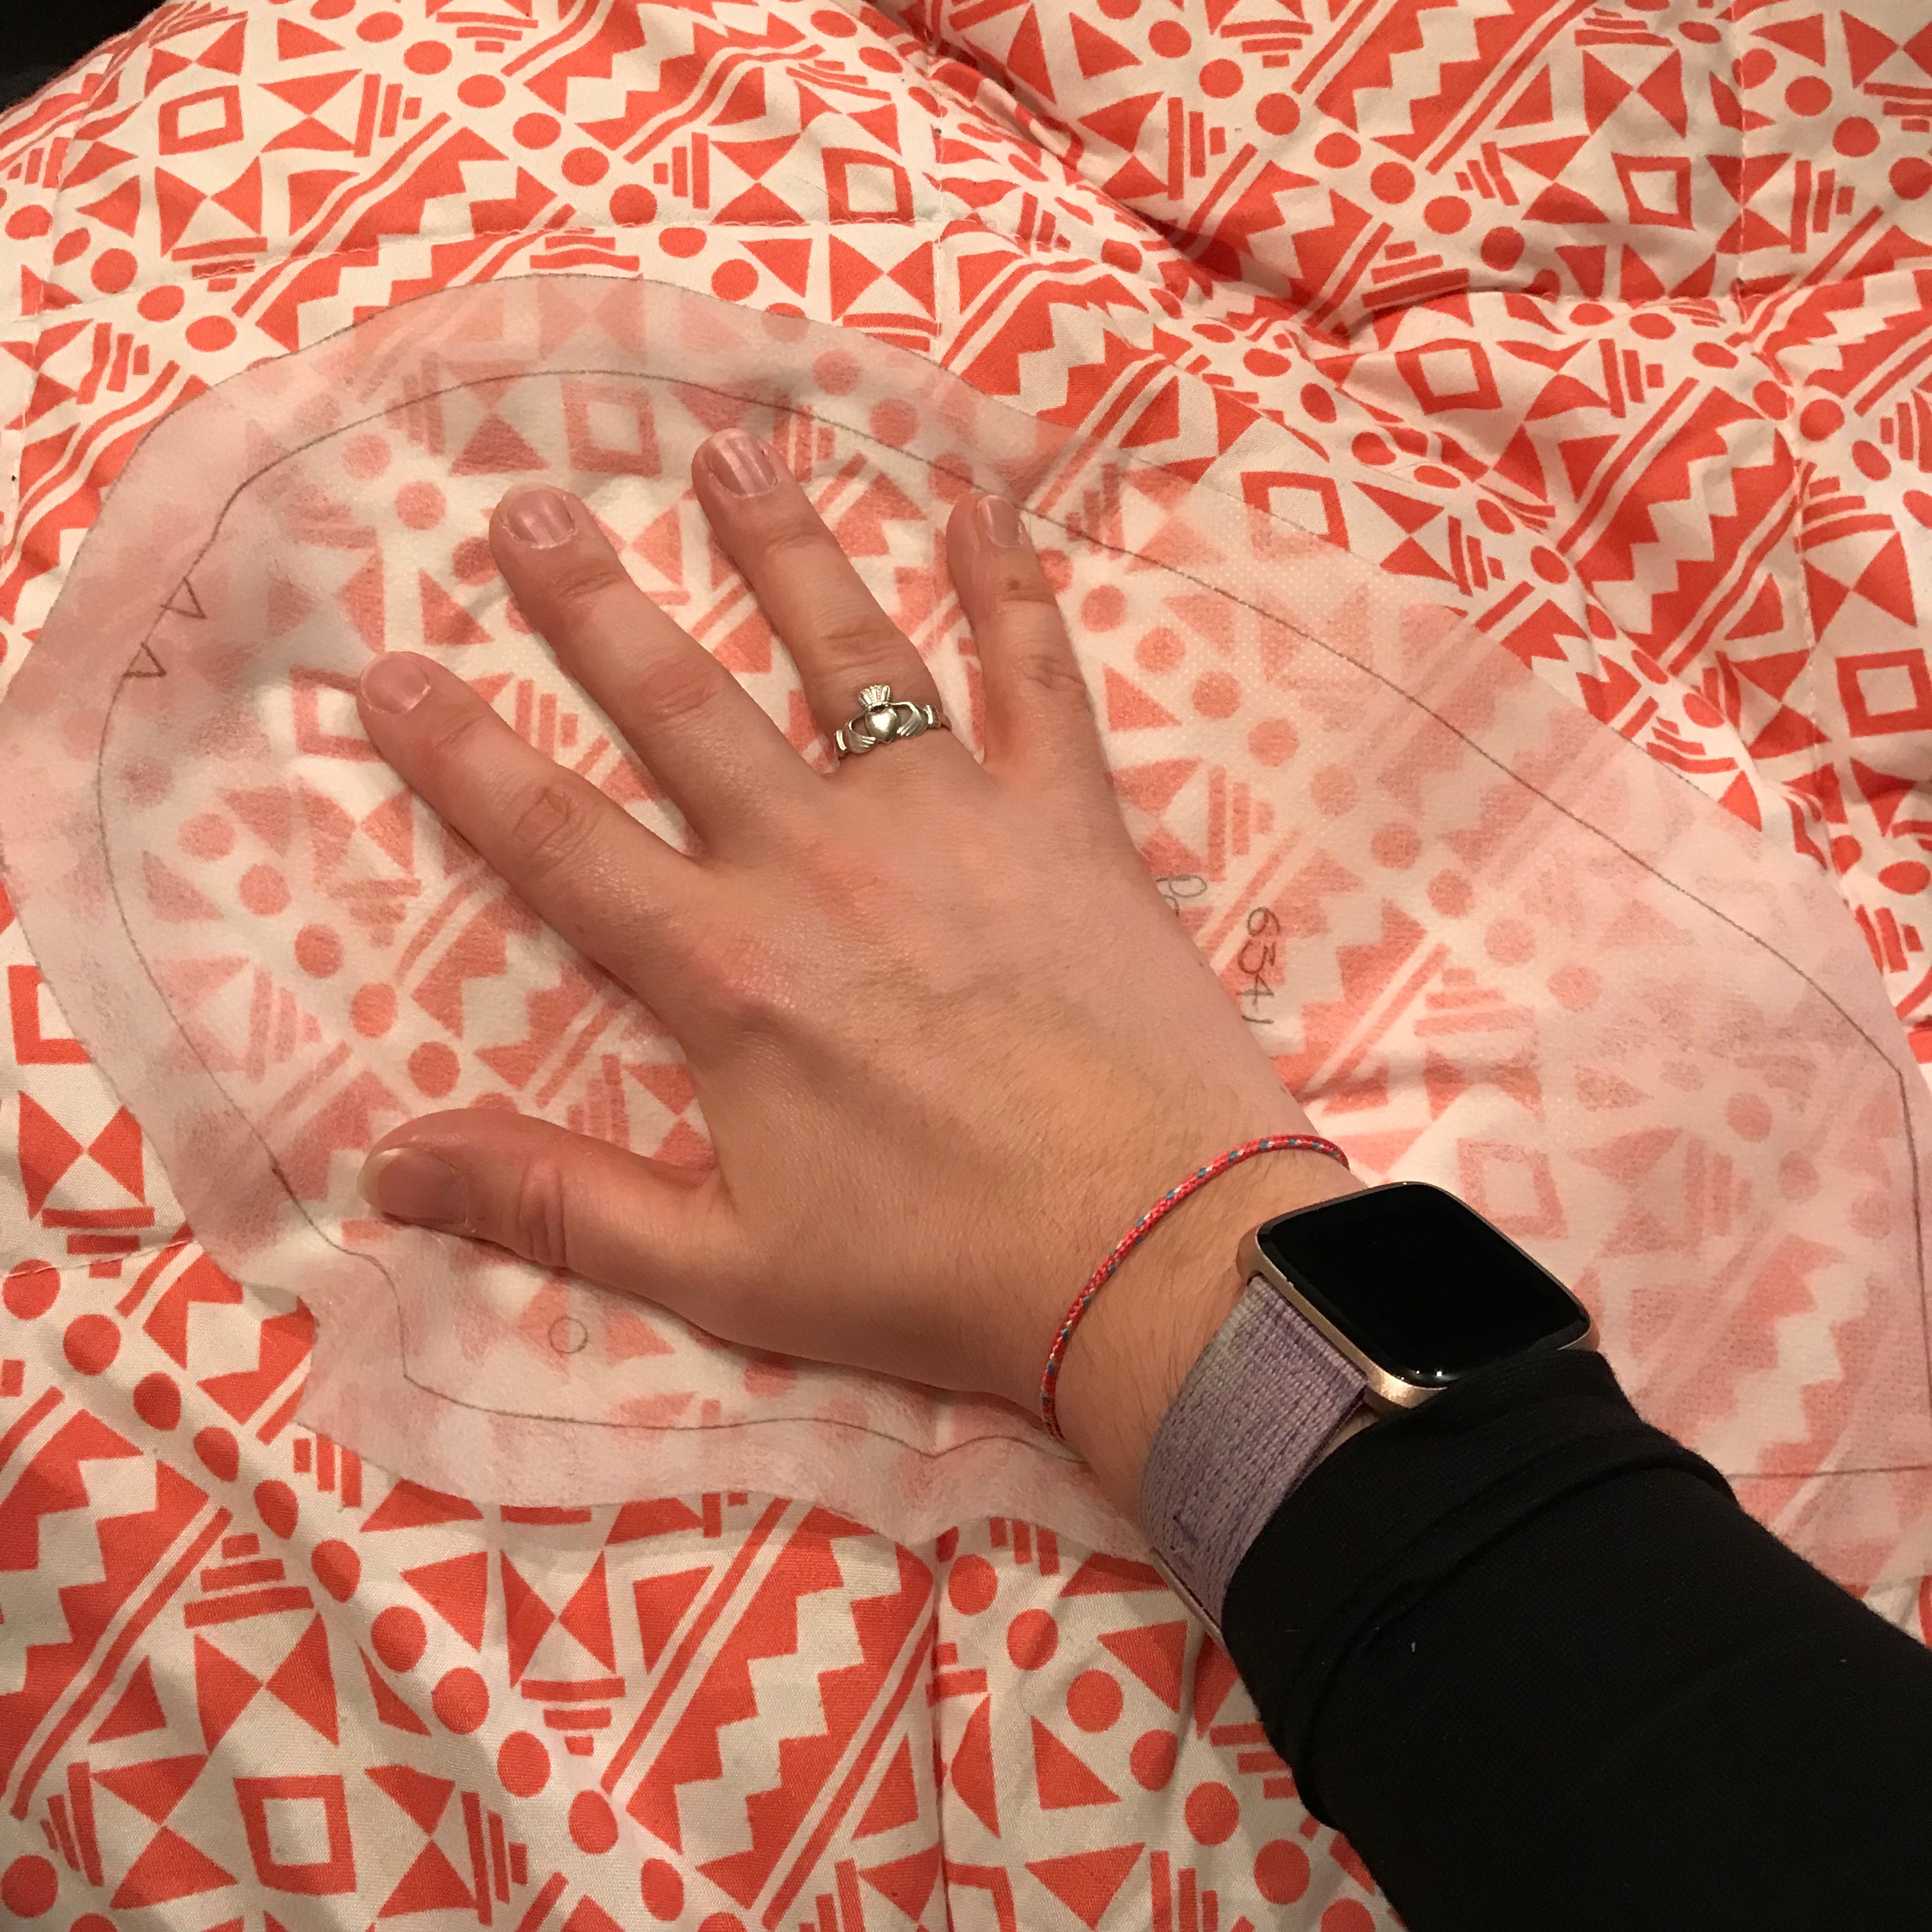
We also got a lesson in how to make the pockets bigger, as the pattern has relatively small pockets. I literally placed my hand on the existing pocket pattern piece and extended it to go out to where my fingers reached.
Homework
This weeks homework was by far the scariest; trace and cut out all of your pattern pieces for the final garment!
Week 4
I started this weeks session with all of my pattern piece cut out in the final fabric and the lining fabric. I’m a little apprehensive about actually sewing my final garment!
As I was the last to arrive, I had nowhere to place my sewing machine, so I started with the interfacing tape (which I bought as I arrived). I thought i’d buy quite a lot as it’s something that I will use again, so I chose 4m. This was enough, but I didn’t have as much left over as I initially thought that I would have! The tape was to use on the front neck, back neck and the seams that would hold the zip.
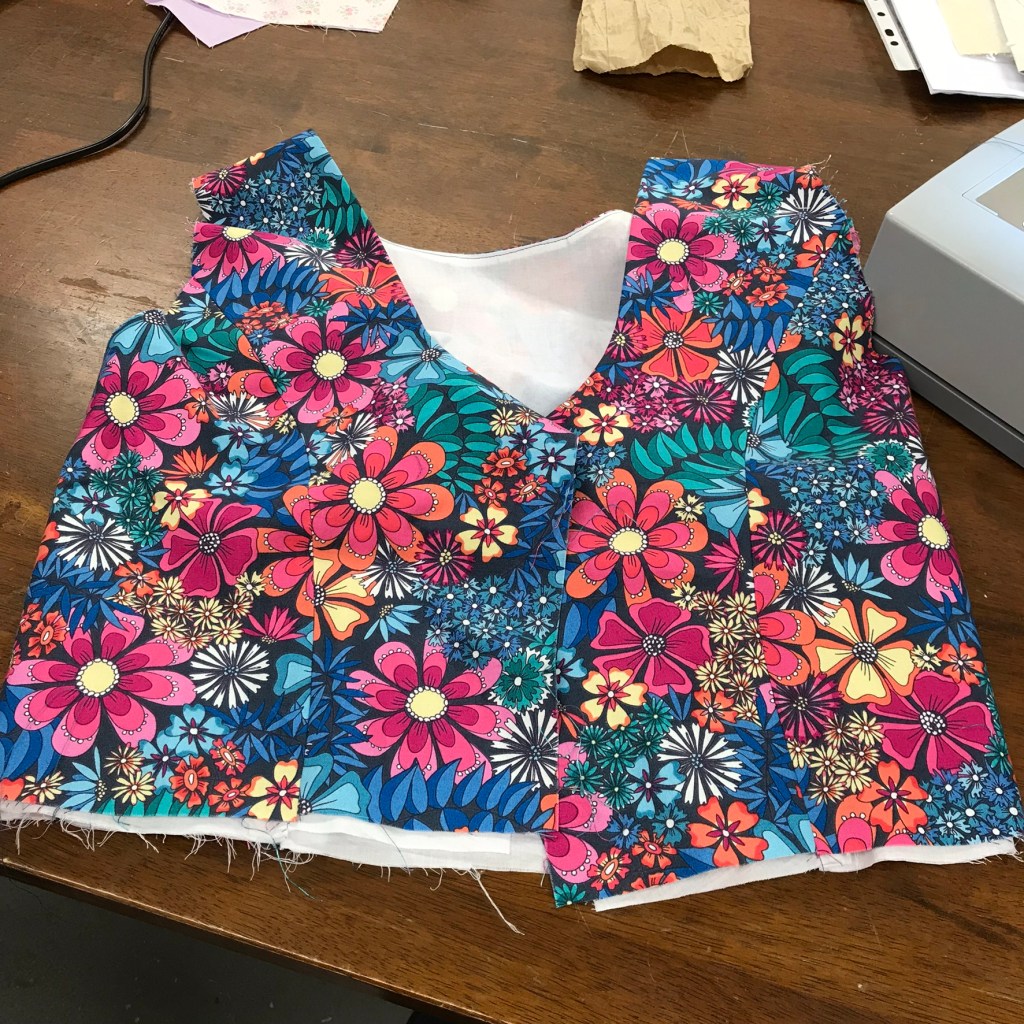
Jo moved on to show us how to sew the bodice and the bodice lining together.
You basically get the two bodice sections sewn separately, then iron them, place them right-side facing right-side and then sew all around the neck.
Homework
This week I had a LOT of homework:
– Sew the bodice and bodice lining.
– Attach the bodice and the bodice lining together.
– Sew the pockets into the skirt
Jo explained that we would be learning how to sew in the zip and how to hem the skirt, so we needed to be at a stage where we could do that.
Week 5
This week I pretty much focused on getting everything sewn together!
As I still had quite a lot of sewing to do, I watched the demonstrations on aspects like the zip and the hem, but didn’t get that far in the lesson.
I managed to sewn my bodice and lining together (I was too scared to do it for homework). It looks okay! I was quite apprehensive about doing the understitch, but it actually turned out well!

FINAL COMMENT: I’m still waiting for my invisible zip foot, so until that arrives I’m just playing the waiting game…
