
I tried really hard to find a helmet that really stood out to me. I was, however, unlucky in my search, and had to find alternative ways to rock a fabulous helmet. Wellington has loads of places to find materials with which to DIY your own cool things. So I went out and located the bits I wanted on my helmet and away I went with the paint, glitter and varnish.
Step 1: Gather materials
When completing any craft based activity it is important that you make sure you have everything that you will need BEFORE you begin.
It’s really annoying, and quite unnecessary, when you realise half-way through an important section, that you haven’t bought enough of something critical.
So you will need:
– Glass paper
– Primer
– 2 x Main colour spray
– 1 x Clear spray
– Glitter

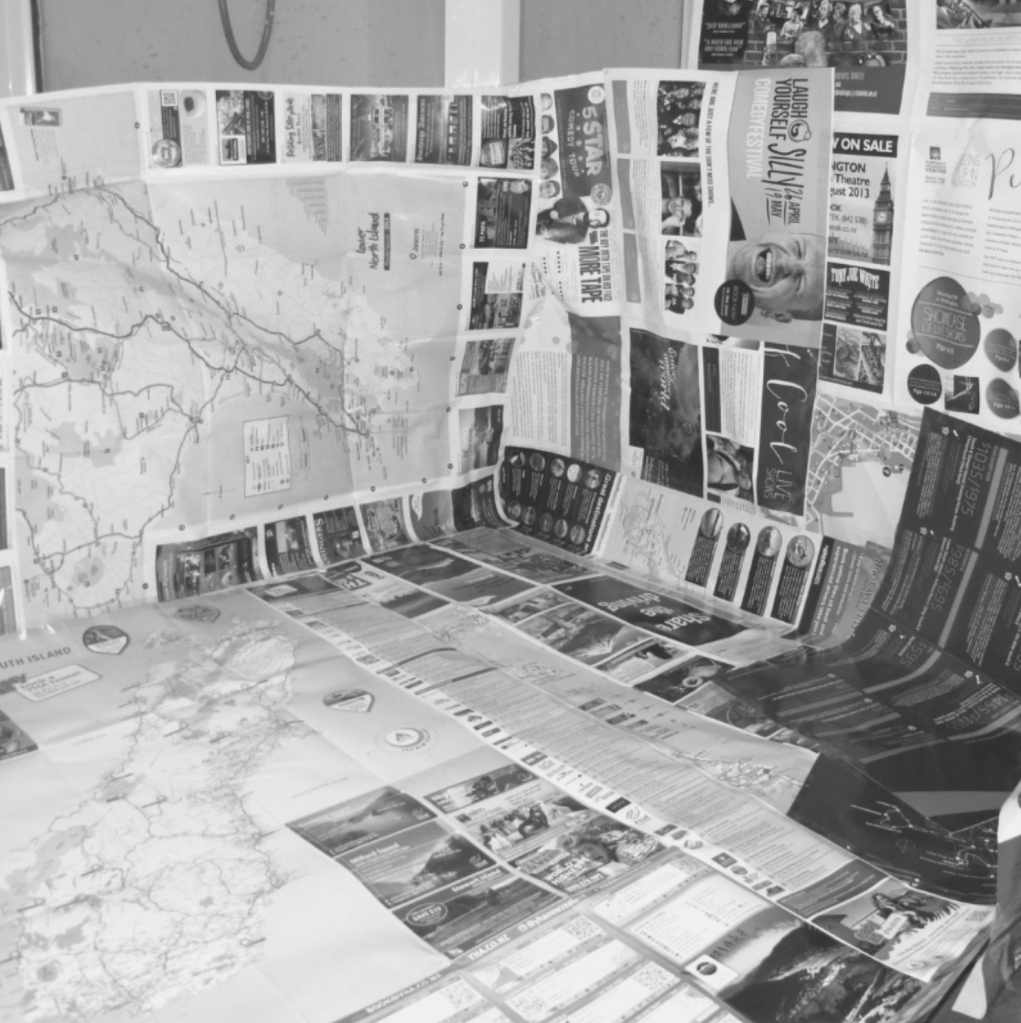
Make a ‘safe’ zone
You will thank yourself later…I promise!
I always feel eager to begin. I learnt the hard way that if you fail to put anything substantial down before spraying, 9 times out of 10 there will be a lot of mess. A LOT. Today I’ve used free leaflets. Newspaper also works well. I’ve created a makeshift ‘spray-booth’. Make sure to make this somewhere that you are not going to have to walk over/in/on, because you don’t want to have to keep moving the helmet around once you begin spraying or applying glitter. I’ve used our bathroom…not the best move to be honest…
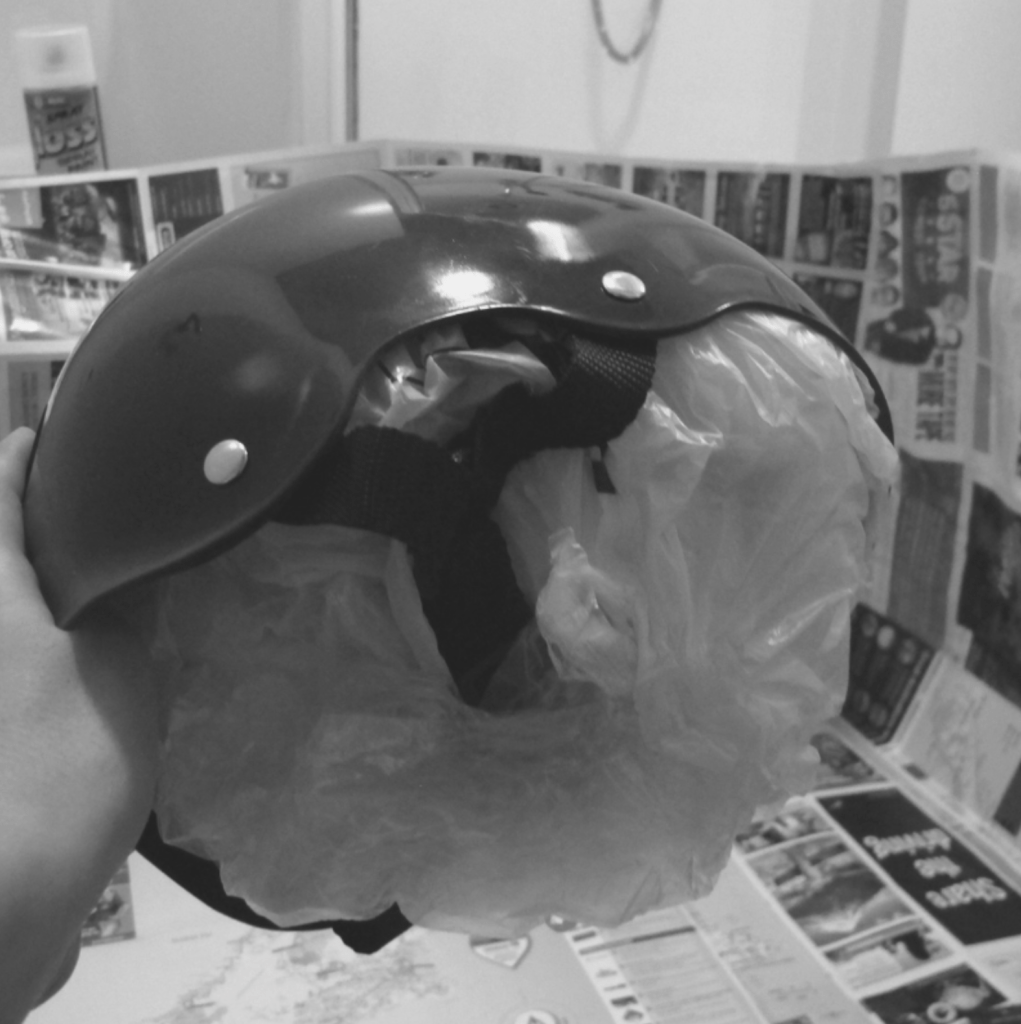
Prepare your helmet
First take out the padding from inside the helmet, leaving only the bits that really won’t budge. Then fill it with something like spare bags or screwed up pieces of newspaper. This stops any paint from getting inside the helmet and melting the padding.
Next you will need your Glass Paper: begin rubbing it all over the helmet until the shine has gone. You don’t want to leave any of the shine as this will stop the primer and paint from getting a good key to the body of the helmet.
Primer
First find something solid that you can place the helmet on. The last thing you need is to get halfway through the spraying and have it fall on the floor and smudge. I have chosen a large yogurt pot as it just happened to be the perfect height.
Next you need to make sure that you apply the PRIMER first.
Primer gives a nice base coat and covers any places where you’ve been a little over zealous with the Glass Paper. Make sure that you coat the helmet evenly, getting around to all of the parts and all of the sides. Try not to hold the spray can too close. If you’re too close the paint will start to run,
After each coat of primer, you should leave the helmet to dry in a safe place where it is not going to get knocked, then, after and hour or so, or when it is dry to touch, give it a quick coat of Glass Paper-ing.
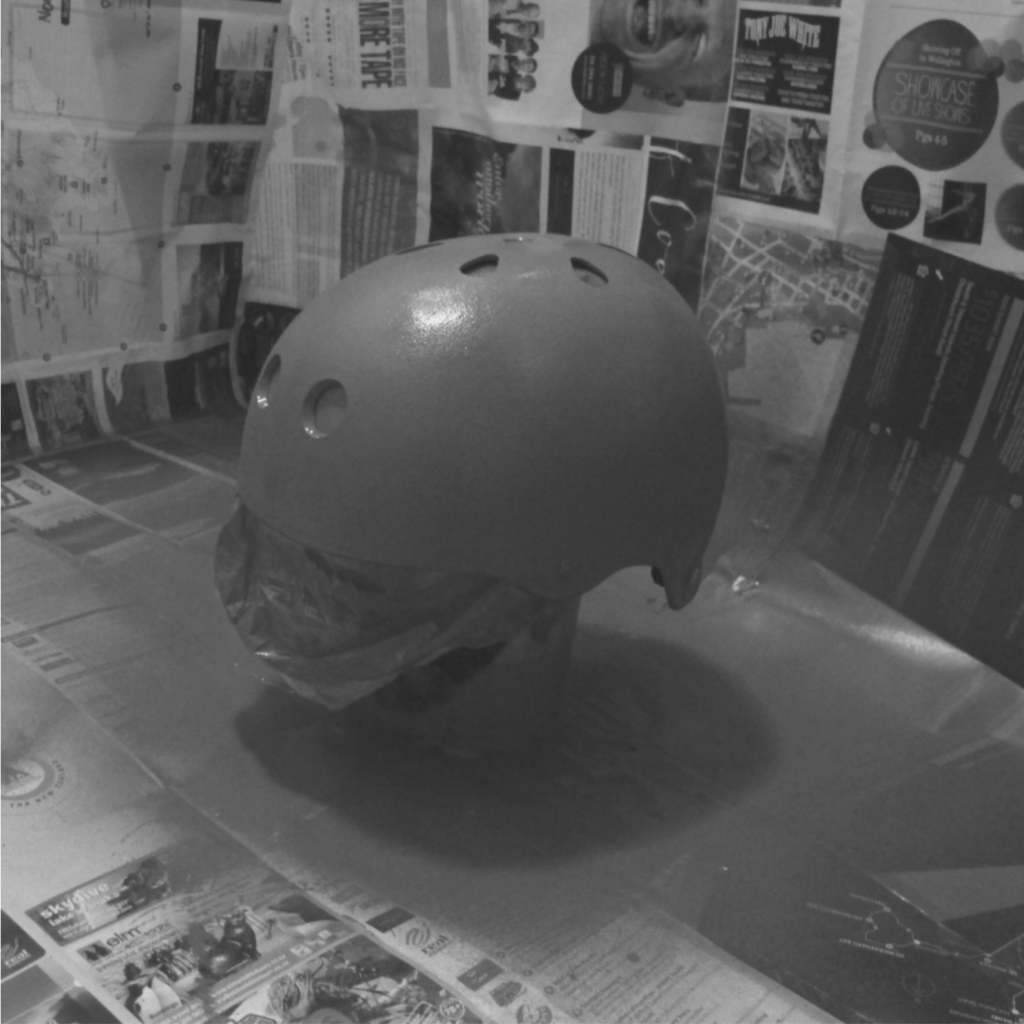
Painting
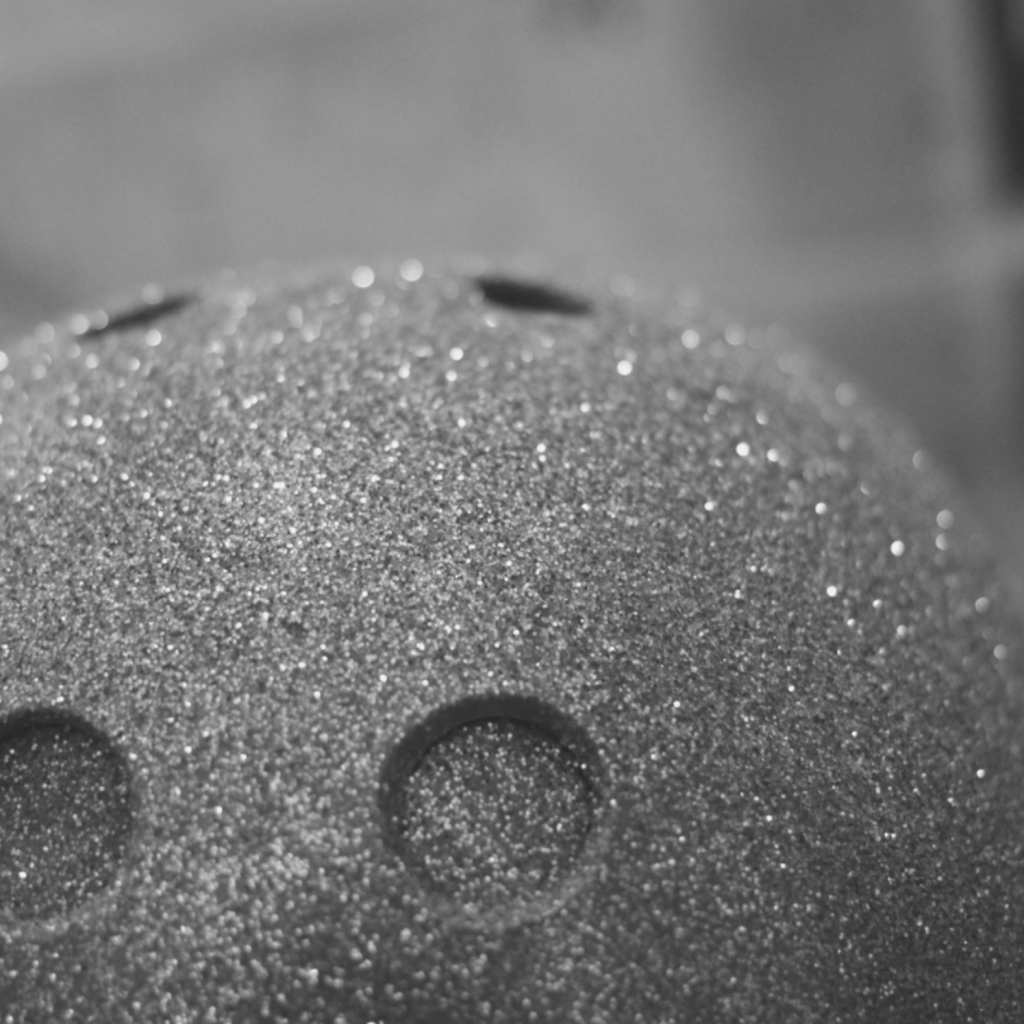
Now is the time to grab the spray can of the colour in which you want your helmet to be. I chose pink. Obviously. Here you will see grey, as I like to shoot in greyscale or B&W.
Make sure that you have shaken the spray can so that you are positive that the paint inside is all smooth and ready to be used. To paint, you do exactly the same thing as you did with the primer section: you must make sure that your helmet is placed on a flat surface. I used my yoghurt pot to prop it up again.
I have done four coats of paint on my helmet. Between each coat you need to wait for it to dry for an hour or so and then give it a quick rub with the Glass Paper. Having a few coats of paint gives the helmet a solid base and it’s less likely to have obvious scratches: they’ll show up less.
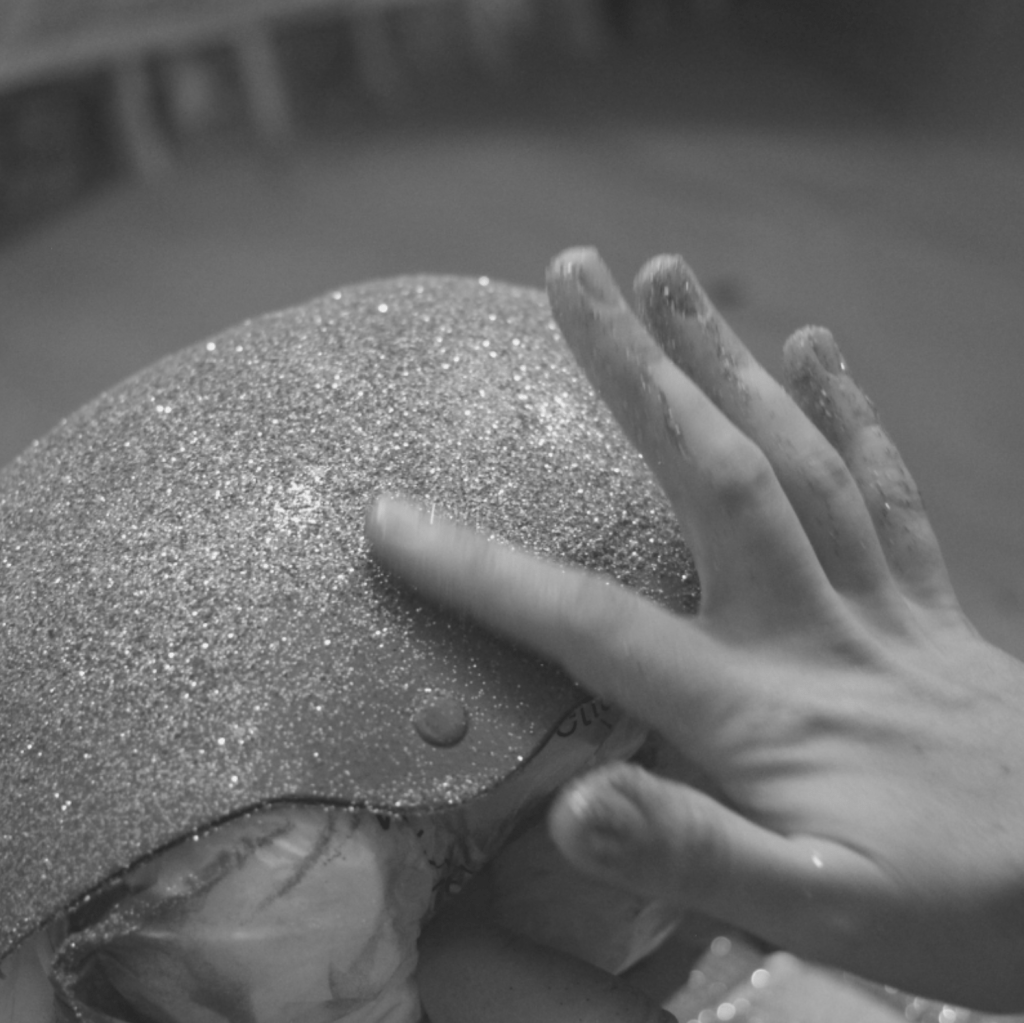
Glitter application
After the primer and pink paint, you will now need one coat of CLEAR spray paint. This acts as the glue for the glitter. You basically spray the clear paint on wait for about ten minutes for the paint to get a little bit tacky, then begin to apply the glitter. I sprinkled the glitter over and then rubbed it into the places where there wasn’t much glitter with my finger.
This is a very messy section, but quite fun! Make sure to put something underneath the helmet to catch the excess glitter, this way you can use the fallen glitter.
After leaving it to dry for a few hours, LIGHTLY brush the helmet with a soft toothbrush to encourage the loose glitter to come off. I would recommend doing about three or four clear/glitter layers.
Finishing
The last thing that I would recommend doing is giving the helmet two or three layers of CLEAR paint. This will help to make the glitter stay on the helmet as the clear spray gets in between the little flecks of glitter and holds them together.
It also gives it a good shine 🙂
